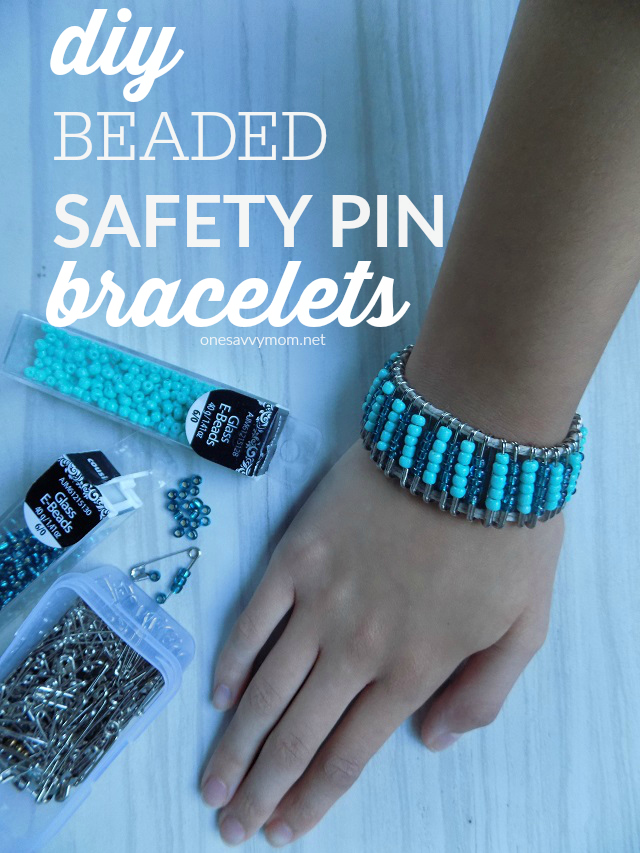
My tween daughter is super into jewelry making these days. She's getting pretty good at it too! This past weekend, we made a fun twist on an old camp favorite; DIY Beaded Safety Pin Bracelets. I remember making a slightly different version of these bracelets at summer camp when I was younger. It's so fun to see my daughter enjoying some of the same crafts and activities that I did as a child!
These DIY beaded safety pin bracelets are super easy to make, and only require a simple list of supplies. Read on for the supply list and our step by step tutorial / imagery.
What you'll need:
- Scissors
- Safety pins (we used about 40 to make the pictured bracelet - the number of safety pins required depends on your wrist size)
- glass beads in your choice of colors
- cord to string your beaded safety pins on; we used hemp cord, as we had it on-hand
Start by opening the clasp of a safety pin. "String" 4-5 beads on the arm of the safety pin. Close the pin. Repeat these steps until all of your safety pins have been beaded.
Measure and cut 2 pieces of cord. String your safety pins together through the top "eye" and bottom "eye" of your safety pins (refer to image above). Once complete tie the cord off in a knot at either end (leaving enough excess cord to tie the bracelet off / secure it to your wrist).
These DIY Beaded Safety Pin Bracelets make the perfect accessory. They're also great DIY gift ideas for the upcoming holiday season.
Happy crafting!


