Our dog is a special part of our family. The kids love her to pieces, and she loves us unconditionally in return!

Ever since she was a puppy, her routine at feeding time has been the same. She's takes off running, slides across the floor, and does a crash-landing of sorts right in front of her bowl. As soon as she hears the food hit the bowl, she simply can't contain herself! While it's cute to watch, it can get pretty messy. As such, I had been on the hunt for a cute feeding station, that also had some weight to it.
Most of the heavier versions are comprised of plastic, which works well, but they certainly aren't fun to look at. So, I decided to buy one and give it a simple shabby chic makeover with Mod Podge Hard Coat and some cute fabric. I absolutely love how it turned out! It's a simple and cute solution for enthusiastic pups!

What you'll need:
- Sponge Brush
- Scissors
- Fabric (we used about 1/2 Yard on our feeding station-measure according to the size of your feeding station)
- Mod Podge Hard Coat
- Plastic Feeding Station
- Cut your fabric to size. I covered the perimeter of the feeding station only; leaving the entire area where the bowls are inserted as-is (for cleaning purposes).
- Coat the entire surface perimeter of the feeding station with a thin coat of Mod Podge using your sponge brush.
- Smooth the fabric onto the entire surface perimeter of the feeding station.
- Apply a thin coat of Mod Podge over the surface of the fabric.
- Allow adequate time for drying. Apply 2 additional thin coats to the surface coating the fabric covered area completely (allow adequate time for drying between coats).
- Insert the bowls into the finished feeding station and fill with your dogs favorite food & water!

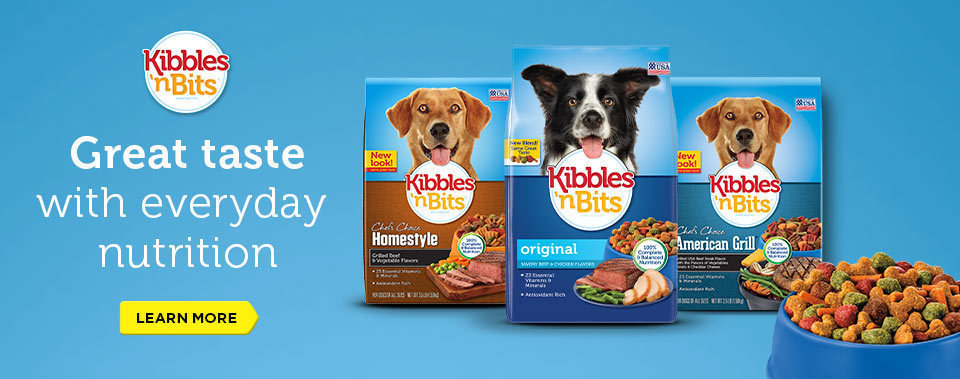
Right now, when you buy Kibbles 'n Bits® at Dollar General, you can save up to $3! Dollar General is offering two digital coupons; $1 off when you buy any bag 3lbs or larger, and $2 off when you buy any 13lbs or larger. Print your coupons today at DollarGeneral.com and save on your next Kibbles 'n Bits® purchase.
Dog owners know, it's not always easy to find pet food that is great tasting and nutritional at an affordable price. So head to your local Dollar General and get your dog a food that you and your wallet can feel good about!
